Batch export, your way
Group assets by hierarchy or layer. Export selected models, checked models or everything listed, with a separate output file for each asset.
 MultiExporter
Batch export & import for Autodesk 3ds Max
Export models and import files or whole folders in FBX, OBJ, glTF/GLB and MAX. Organize assets by hierarchy or layer, then save each model’s export folder and preset in your scene for the next revision.
Bring assets in. Get deliverables out.
Built for asset libraries, game environments and scenes with many separate models.
Group assets by hierarchy or layer. Export selected models, checked models or everything listed, with a separate output file for each asset.
Give every asset its own destination and settings. Change one model or several selected models together.
Drag in FBX, OBJ, glTF/GLB or MAX files and folders. Preview model and LOD names, then add assets organized as layers or hierarchies.
Group names such as Building_LOD0 and Building_LOD1 under one model, then export each level separately. LOD meshes are recognized, not generated.
Choose which root position, rotation and scale to keep. Export temporarily stages the objects, then restores their scene state.
Catch missing folders, missing presets and conflicting output paths before writing a batch. Inspect warnings directly from the model list.
A batch importer, too
Import FBX, OBJ, glTF/GLB and MAX as new models. Preview the batch before importing and keep source folders and matching export presets for later.
Drag files and folders into MultiExporter, or use Import Files. Bring multiple assets into 3ds Max in one batch.
Review the import preview. Existing model/LOD combinations are skipped. Imported files become layers or root hierarchies.
Enable “Store the source folder and a matching preset” to keep imported models configured for a later export.
Save your scene first: import cannot be undone in 3ds Max. It adds new models and skips existing model/LOD combinations; it does not replace or update existing assets.
The export workflow
Switch between hierarchy and layer grouping. Filter the list and inspect the models and existing LOD levels.
Assign an output folder, choose a format preset and decide which transforms to keep. Save the scene to retain the assignments.
Export selected, checked or all listed models. Return to the same scene after an edit and reuse the setup.
Inside MultiExporter
Explore real screenshots of the working plugin.
See the output filenames for each level alongside the model's folder, preset and transform policy.
Use layer-based organization when it fits your scene. Switching modes preserves the other mode's assignments.
Pick reusable export settings for each model. Keep multiple formats and destinations in one scene.
Export or validate a selection, check rows and copy settings through the model list's context menu.
Start with a preset, adjust the export options and share presets with your team.
glTF uses the included Khronos importer/exporter. No separate installation is required. Material support depends on the format; renderer-specific shaders and procedural maps may need conversion or baking. glTF tangent export is currently disabled.
Get MultiExporter
The same batch export and import features in every license. Choose the activation limit that fits your work.
$29$29
USD · one-time purchase
For 1 artist. Activate on up to 2 machines (e.g. desktop + laptop).
Get Individual$99$99
USD · one-time purchase
For one team. Activate on up to 5 machines.
Get Team$249$249
USD · one-time purchase
For one studio. Unlimited activations within your studio.
Get StudioEARLY ACCESS PRICE – 50% OFF UNTIL OCTOBER 20
All three licenses · applied automatically on Gumroad
Prices in USD. Taxes and local currency shown at checkout. Select Individual, Team or Studio on Gumroad.
Questions about team licensing? [email protected]
Before you start
Other Max versions have not been confirmed in this test cycle. Contact support before buying for a different version.
Getting started
INSTALL.cmd.No separate Khronos download is needed. Updates preserve saved presets and license data.
Questions, answered
No. The download includes the free, open-source Khronos glTF importer/exporter. MultiExporter adds batch workflows, asset organization and reusable per-model export settings around these components. Third-party notices are included in the download.
Yes. Drop files or folders into MultiExporter and review the model and LOD names before importing. FBX, OBJ, glTF/GLB and MAX are supported. You can retain source folders and matching export presets for later export.
No. MultiExporter recognizes existing LOD naming, groups the levels and exports them as separate files. Create the LOD geometry before exporting.
Material compatibility depends on the format and receiving application. Renderer-specific shaders and procedural textures may need conversion or baking. Keep OBJ/MTL textures and external glTF assets together. glTF tangent export is currently disabled, and Standard material opacity can be lost during glTF conversion. Native MAX files still need their external textures and relevant renderer plugins.
Model folder and preset assignments are saved with the MAX scene. Preset definitions are stored separately; export and import them when sharing a setup with another artist.
Individual is for one artist, with up to 2 machine activations. Team is for one team, with up to 5 machine activations. Studio covers one studio with unlimited activations. Every tier includes the same batch export and import features.
The activation limit belongs to your license tier, not to each Max version. Activation is shared by Max versions within the same Windows profile, so reopening Max or using another Max version there does not normally consume another activation. Separate Windows profiles or a rebuilt system may need an additional activation. Contact support to move an activation.
Internet is required for initial activation and periodic Gumroad license checks. Verified licenses are checked when opening the tool after 7 days. If Gumroad cannot be reached, access continues for up to 14 days from the last successful check.
Import cannot be undone in 3ds Max. Save your scene first. Import adds new model/LOD combinations and skips existing ones rather than replacing them.
The 50% launch discount ends on October 20, 2026 at 23:59 CEST (Poland). Prices then return to $29 for Individual, $99 for Team and $249 for Studio (USD). The promotion is a purchase discount, not a subscription.
Email [email protected] with your Max version, plugin version and a short description. Include a small reproduction scene if possible. Keep full license keys out of public screenshots.
Also by 3Design DK
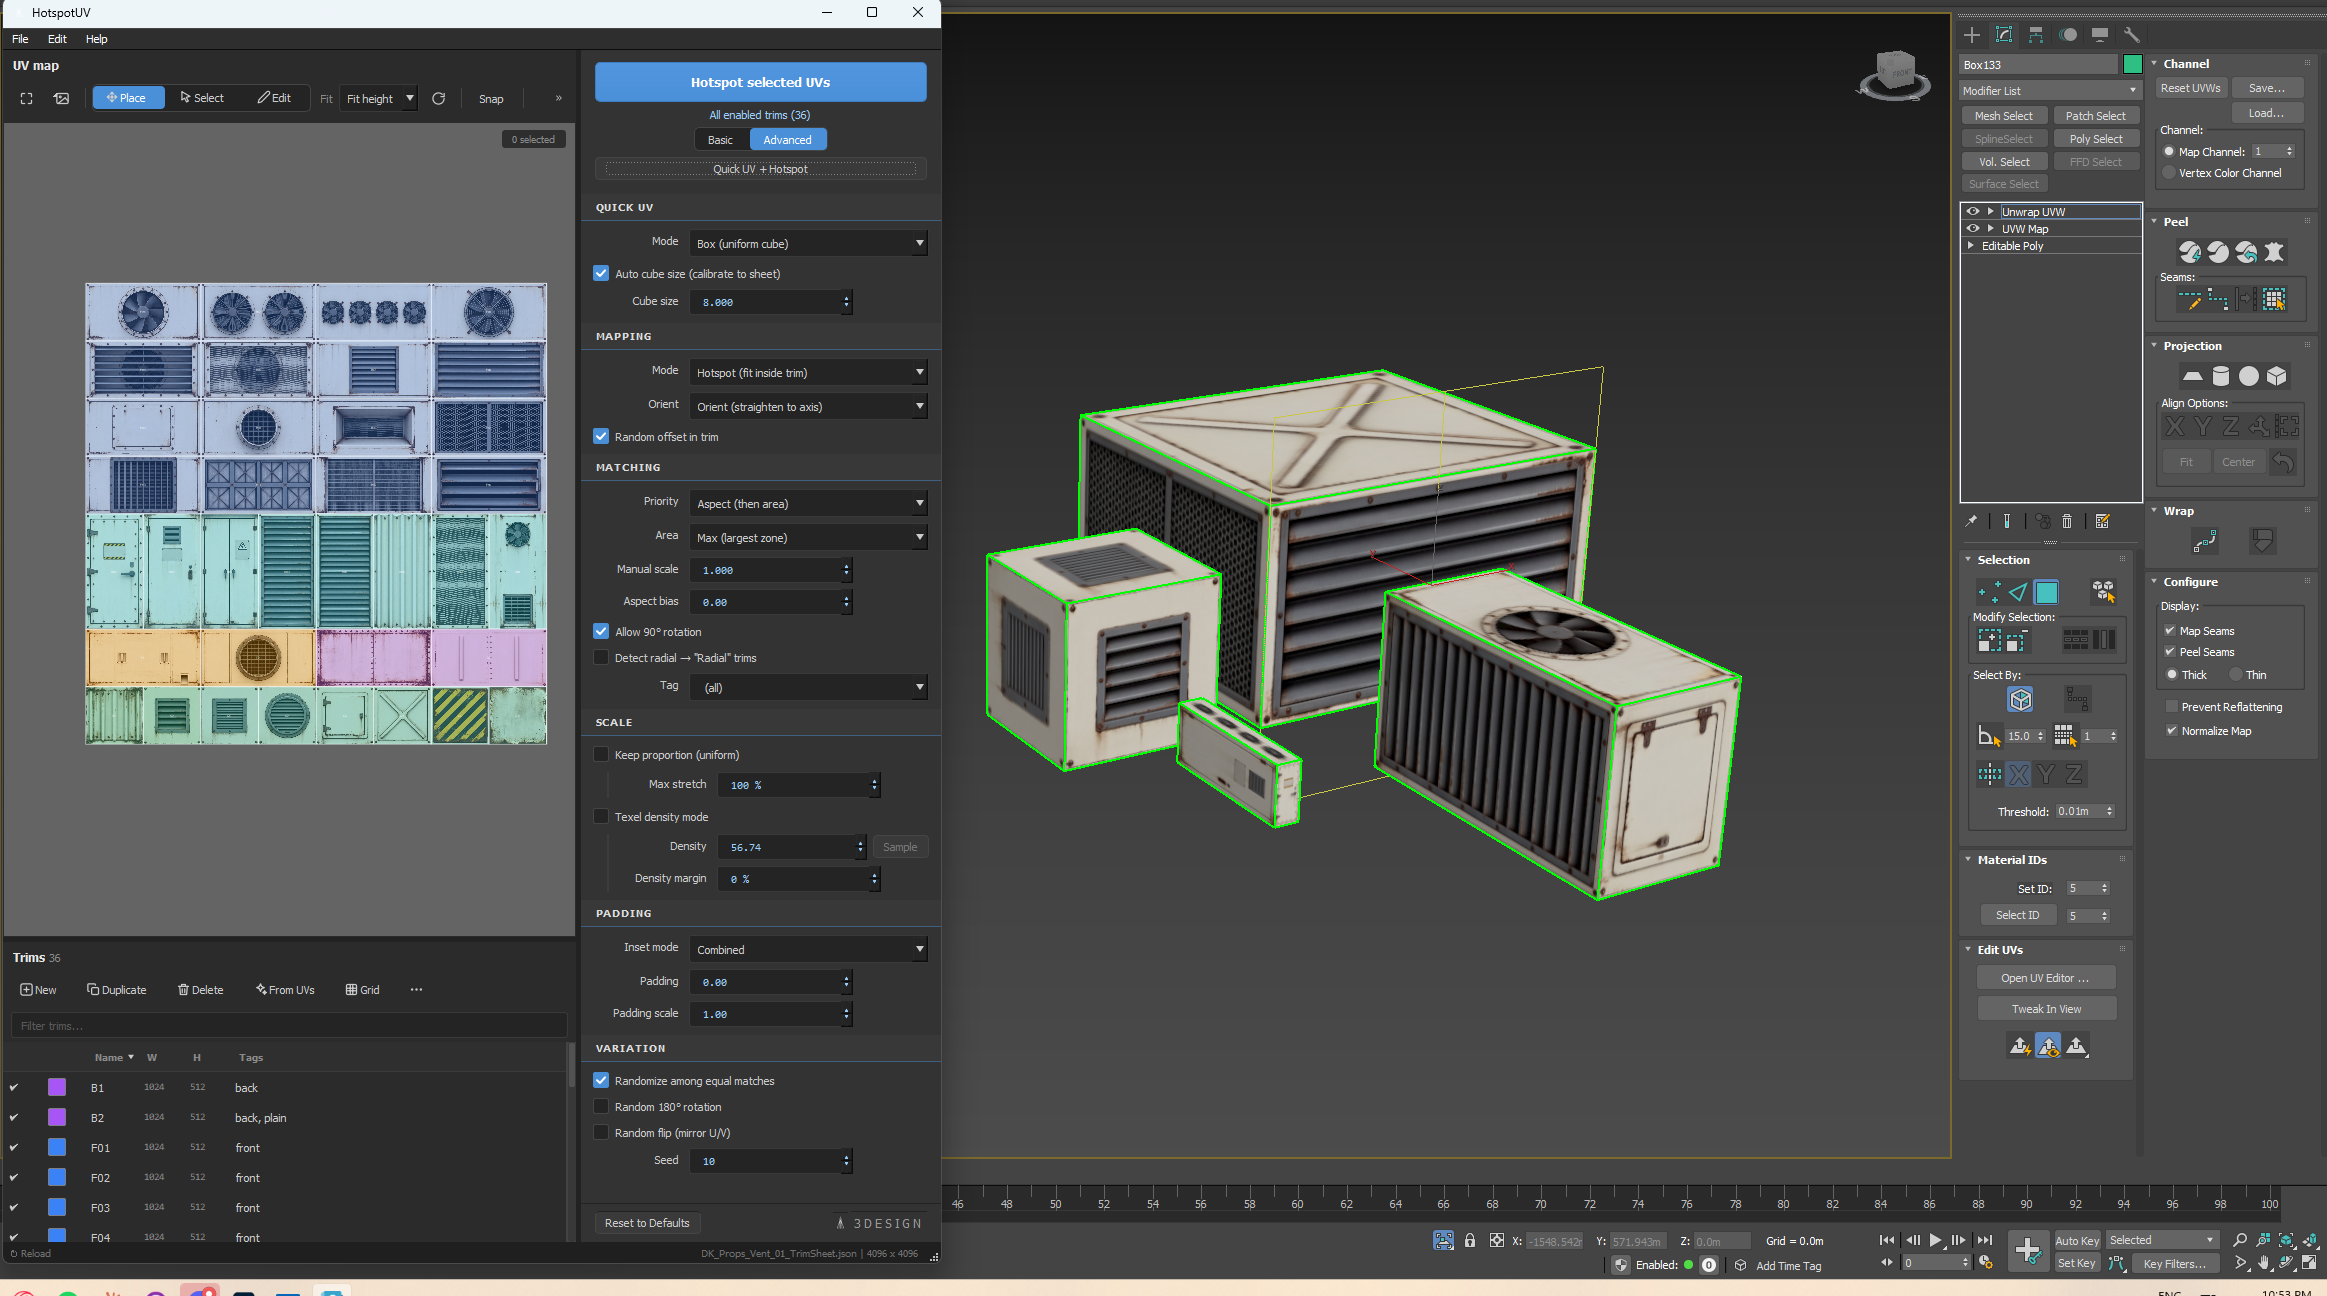
Match UV islands to trim zones by shape and size, keep texel density consistent and prepare assets before export.